Showing posts with label holiday. Show all posts

Saturday, March 23, 2013

Valentine Leftovers

After a month of being in a sugar induced coma, I wanted to share with you guys what I did with my leftovers from my Valentine's Day orders.  This year the orders were simple, and only consisted of a couple dozen of the Peanut Butter truffles, Oreo truffles and Shortbread cookies.  Nothing extensive, and since I don't typically modify a recipe to accommodate a small amount, I had some leftover Shortbread cookie dough and Peanut Butter Truffle mixture. Oh how the wheels were turning once I delivered everything =).  Before I get into that here are some cute photos of the making of my Valentine-themed Shortbread cookie order.
I have no idea why, but I had such a hard time finding heart shaped cookie cutters.  You would think that the shelves would be stocked with these things in all sorts of sizes during the love-fest holiday, but on the contrary I searched high and low from Wal-Mart to Party City and wound up disappointed until I decided to gallivant through Target.  I found this cute 4-piece cookie cutter set from the Martha Stewart collection.  It was a little more than I had wanted to spend, but I was pretty desperate by this time.  And of course, as irony would have it, I now see them in abundance as I peruse the aisles of the grocery store.

In any case, I couldn't have been more pleased in finding these cookie cutters in time to make the delivery =).  As soon as I got back to the kitchen, I washed and dried them and got them floured up for their big assignment.  

I couldn't help but smile as I popped each heart out of the cookie cutter and lined them on the parchment paper.  I loved how uniformed they looked, and I was hoping that there would be leftover dough so I could have a treat waiting for me after my delivery, ^^.


Aaand here's the final product fresh out of the oven!  You would not believe how amazing the house smells as these buttery cookies bake.  It'll literally have you staring down the timer.. twitching with anticipation for the final second to arrive.
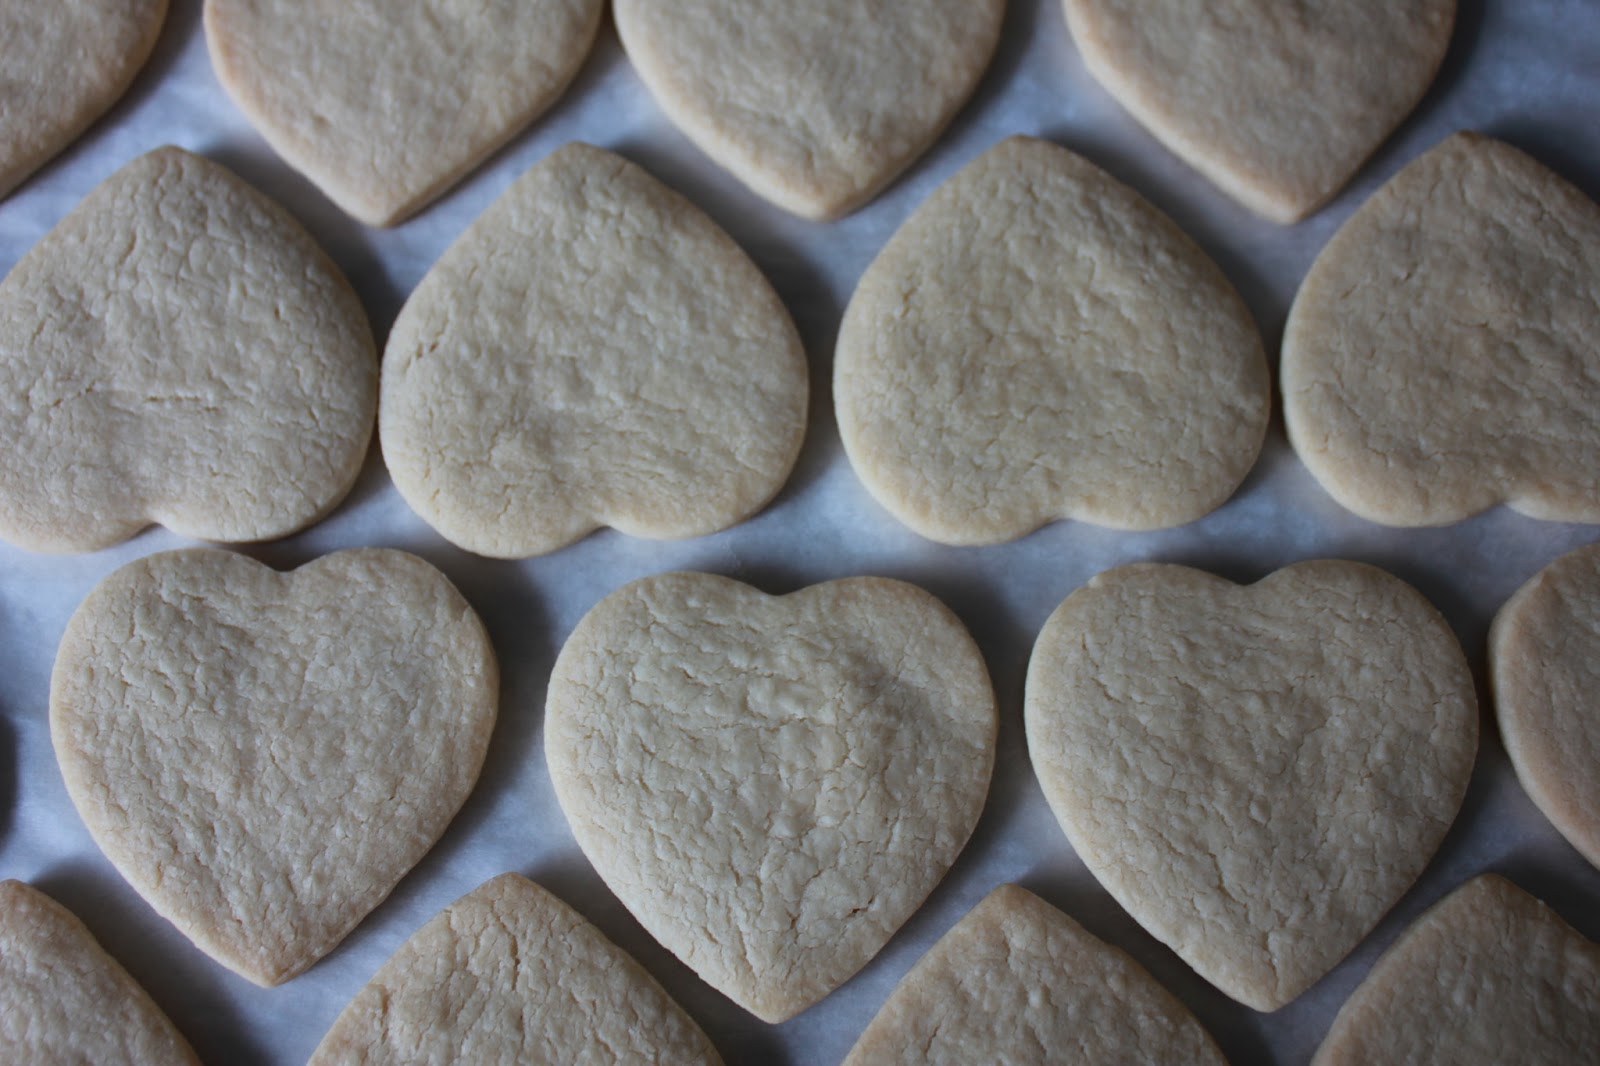
The best part of this recipe is that the cookies taste fantastic just by themselves (no dipping necessary), but if you can stand to wait before devouring, go ahead and melt down some chocolate and dip these bad boys to give them an added deliciousness.  A couple Christmas' ago, I dipped Shortbread cookies in dark chocolate and sprinkled chopped peanuts over it, and gifted them to co-workers and my friends.  Three words: yum, Yum, YUM!!


Ok, so now here's what I did with my leftover cookie dough (and Peanut Butter Truffles from my previous entry).  I measured the truffle mixture out with a teaspoon and rolled them into miniature truffles.  Since they're smaller than a regular truffle, the heat from my hands softened them a bit, so I stuck them back in the refrigerator for a few minutes to allow them to harden up.
You see that leftover hunk of dough in the background?  That will soon turn into a delicious wrapper for each of my miniature truffles =).


Not too sure what I mean???  Well, here's what I did.  I took a piece of my cookie dough, flattened it out and proceeded to envelop a miniature truffle with it.

And, in light of the holiday, I free-formed them into hearts as best I could, ^^.

Although they weren't perfectly shaped, they tasted beyond amazing!


Chocolate, peanut butter and shortbread all in one delicious package..who could resist such a temptation??


Shortbread Cookie Recipe

INGREDIENTS

3 1/2 Cups  All-Purpose Flour
3/4 Lb.  Unsalted Butter, room temperature
1 Cup  Sugar
1 tsp  Vanilla Extract
1/4 tsp  Salt

DIRECTIONS

1. Beat together room temperature butter and sugar till combined.  Then beat in vanilla extract.

2. Add in flour and salt and mix till the dough forms a ball.

3. On a lightly floured surface, pat dough out into two round discs and wrap each in plastic wrap.

4. Let the dough chill in the refrigerator for about 30 minutes before rolling out.

5. When you're ready to bake, preheat the oven to 350 degrees.  Roll your dough out and cut them into any shape you desire.

6. Place your cut outs onto a parchment paper lined baking sheet and bake for 22 - 25 minutes or until the edges just start to turn golden brown.

7. Cool on the cookie sheet for 5 minutes, then transfer cookies to a cooling rack.

Wednesday, October 31, 2012

Cookie Trades

Being in a festive mood got me flipping through pictures of last year's holidays.  There were tons of photos of family, food and decorations.  I remember putting together gift baskets of all sorts of baked goods while mom was baking her famous party mix.  I love how delicious the house smells during the holidays =).
Last year I gifted these terrific Chocolate Dipped Shortbread Cookies and Oreo Truffles.  Both were a total hit and everyone requested I make more.  I would have totally accommodated their requests too, but I was so burnt out with my new job and not to mention putting together over 250 cookies.  Maybe this year will be a little different though.


Although I had fun making both recipes, I really enjoyed making the Oreo Truffles.  Probably since it was my first time and I absolutely love Oreos!

However, these two recipes have got to be the best cookie trade recipes for the holidays.  They're easy to store and won't break the bank if you have a long "Nice" list this year.


Chocolate Dipped Shortbread Recipe

INGREDIENTS

3/4 lb. Softened (room temperature) Unsalted Butter
1 Cup Sugar
3 1/2 Cups All-Purpose Flour
1 tsp Vanilla Extract
1/4 tsp Salt
8 oz Chocolate, melted

DIRECTIONS - preheat oven to 350 degrees.

1. Combine butter and sugar in you electric stand up mixer with the paddle attachment until smooth and creamy.  Add in flour a cup at a time.  Once incorporated add the salt and vanilla extract and mix till combined.

2. Roll out the dough into two discs on a floured surface.  Wrap in plastic wrap and store in the refrigerator for at least 1 hour or until ready to use.

3. When you're ready to bake, roll the dough out on a floured surface until 1/4 inch thick.  Using a cookie cutter, cut out your dough.  Place each cut-out onto  a baking sheet lined with parchment paper and sprinkle with some sugar.

4. Bake for 22 - 25 minutes or until lightly golden.  Cool on a wire rack before dipping.

Dipping:
1. Melt 8 oz of chocolate according to the directions.

2. Chop up about 3/4 cup of dry roasted, unsalted peanuts.

3. When the cookies have thoroughly cooled, dip them into the chocolate and roll them in the chopped peanuts.  Set aside to firm up.

The delicious cookies are to be store in an air tight container for up to a week, but I highly doubt they'll last that long, =9.

Simple huh?  Well this next recipe will be a snap!

Oreo Truffles

INGREDIENTS
1 package of Oreos
8 oz Softened (room temperature) Cream Cheese
8 - 10 oz Chocolate, melted

DIRECTIONS
1. In a food processor, crumble Oreos till they resemble sand.  Don't have a food processor, no worries!  Just place Oreos in a ziploc bag and crush with a rolling pin.

2. Pour cookie crumbs into a mixing bowl with the cream cheese and stir until everything is moist and combined.

3. Shape mixture into 1 inch balls and place in the freezer for 30 minutes to set.

Dipping:
1. Melt chocolate according to directions.

2. Coat each truffle with chocolate and place on wax or parchment paper to set.

3. Once all the truffles are covered, drizzle remaining chocolate over them for a quick texture design, or get creative and add some sprinkles to them.

Store these amazing truffles in an air tight container for up to a week.

Just talking about these are giving me baking fever!  Have fun =)

Happy Halloween!!!

Happy Halloween all!!  What crazy spooks are you brewing up in your kitchen today?  I know you must be busy prepping for your haunted soiree or trick-o-treating with the children.  If you're stuck at work, don't stress out! =)  Check out quick, fun and easy treat recipes online during your lunch break.  I have to admit that turning the oven on seemed like a quest and a half, so I opted for the semi-homemade no-bake option to create my Halloween treats.  Here's a snapshot of my fun Mummy-faced Cookies.


Aren't they cute!  It was so much fun to watch them come to life, and it only took me 20 minutes to put together!  All you need is a sleeve of Oreos (your favorite cookies will work perfectly), half a package of Vanilla Flavored Almond Bark coating, a squeeze bottle (or ziploc bag) and chocolate morsels.
Just follow the melting directions for the chocolate, and coat one cookie at a time.  Place each covered cookie on wax or parchment paper.  The next step I experimented a little with.  I snipped off the tips of the chocolate morsels before placing them upside down onto the cookies (for eyes).  If you don't the eyes won't stay in place the way you want them to.  But, if you want to skip this step altogether, just use either brown Reeses Pieces or MnMs, =)...now why didn't I just do that...
Once all your cookies are coated and they have their eyes attached, pour the remaining chocolate into a squeeze bottle or ziploc bag and make a zigzag design across each mummy face for the wrapped up effect.  They'll be set and ready to take to your party in 10 minutes!

If you have some Nutter Butter sandwich cookies, you could do the exact same thing and make ghosts or a a full bodied mummy!  Add some food coloring and the possibilities are endless.  Have fun, and Happy Halloween!!

Wednesday, February 15, 2012

Red Velvet Whoopie Pies

How could I forget about these??  I made these delicious red velvet whoopie pies for Christmas gift giving two years ago.  Since red velvet has suddenly taken the sweet tooth nation by storm I thought it would be a perfect gift to pass out.  They're soft, creamy and perfectly bite-sized so you won't feel guilty about eating more than one with your cup of coffee or scoop of ice cream (yuuummm).  This recipe only makes about 2 1/2 dozen whoopie pies, so be sure to bake 2 batches because you are for sure going to want to save some for yourself and people are bound to ask you for more!

Monday, February 6, 2012

Cornbread like my momma makes it =)

This amazing cornbread goes great with my Simply Chili recipe (posted earlier).  It's so quick and easy that you can whip it up for a last minute party.  You'll be the highlight of Christmas, Thanksgiving, Easter, or any day.  If you need a simple gift idea, you can get a jar and fill it with the dry ingredients and include the entire recipe on a ribbon.

INGREDIENTS

2  Eggs
1 Cup  Sugar
1 Cup  Cornmeal
1 1/2 Sticks  Butter
2 Cups  Bisquick
1 Cup  Milk

DIRECTIONS
 
1. In a large bowl cream Butter and Sugar.

2. Add eggs; mix well.  Add Bisquick and Cornmeal until combined.  Then mix in Milk.

3. Butter and cornmeal a 9x13 inch pan, and pour mixture in.  Bake at 350 degrees for 30 minutes or until toothpick comes out clean.

Simple right!?  Enjoy, ^^.