Saturday, March 23, 2013

Valentine Leftovers

After a month of being in a sugar induced coma, I wanted to share with you guys what I did with my leftovers from my Valentine's Day orders.  This year the orders were simple, and only consisted of a couple dozen of the Peanut Butter truffles, Oreo truffles and Shortbread cookies.  Nothing extensive, and since I don't typically modify a recipe to accommodate a small amount, I had some leftover Shortbread cookie dough and Peanut Butter Truffle mixture. Oh how the wheels were turning once I delivered everything =).  Before I get into that here are some cute photos of the making of my Valentine-themed Shortbread cookie order.
I have no idea why, but I had such a hard time finding heart shaped cookie cutters.  You would think that the shelves would be stocked with these things in all sorts of sizes during the love-fest holiday, but on the contrary I searched high and low from Wal-Mart to Party City and wound up disappointed until I decided to gallivant through Target.  I found this cute 4-piece cookie cutter set from the Martha Stewart collection.  It was a little more than I had wanted to spend, but I was pretty desperate by this time.  And of course, as irony would have it, I now see them in abundance as I peruse the aisles of the grocery store.

In any case, I couldn't have been more pleased in finding these cookie cutters in time to make the delivery =).  As soon as I got back to the kitchen, I washed and dried them and got them floured up for their big assignment.  

I couldn't help but smile as I popped each heart out of the cookie cutter and lined them on the parchment paper.  I loved how uniformed they looked, and I was hoping that there would be leftover dough so I could have a treat waiting for me after my delivery, ^^.


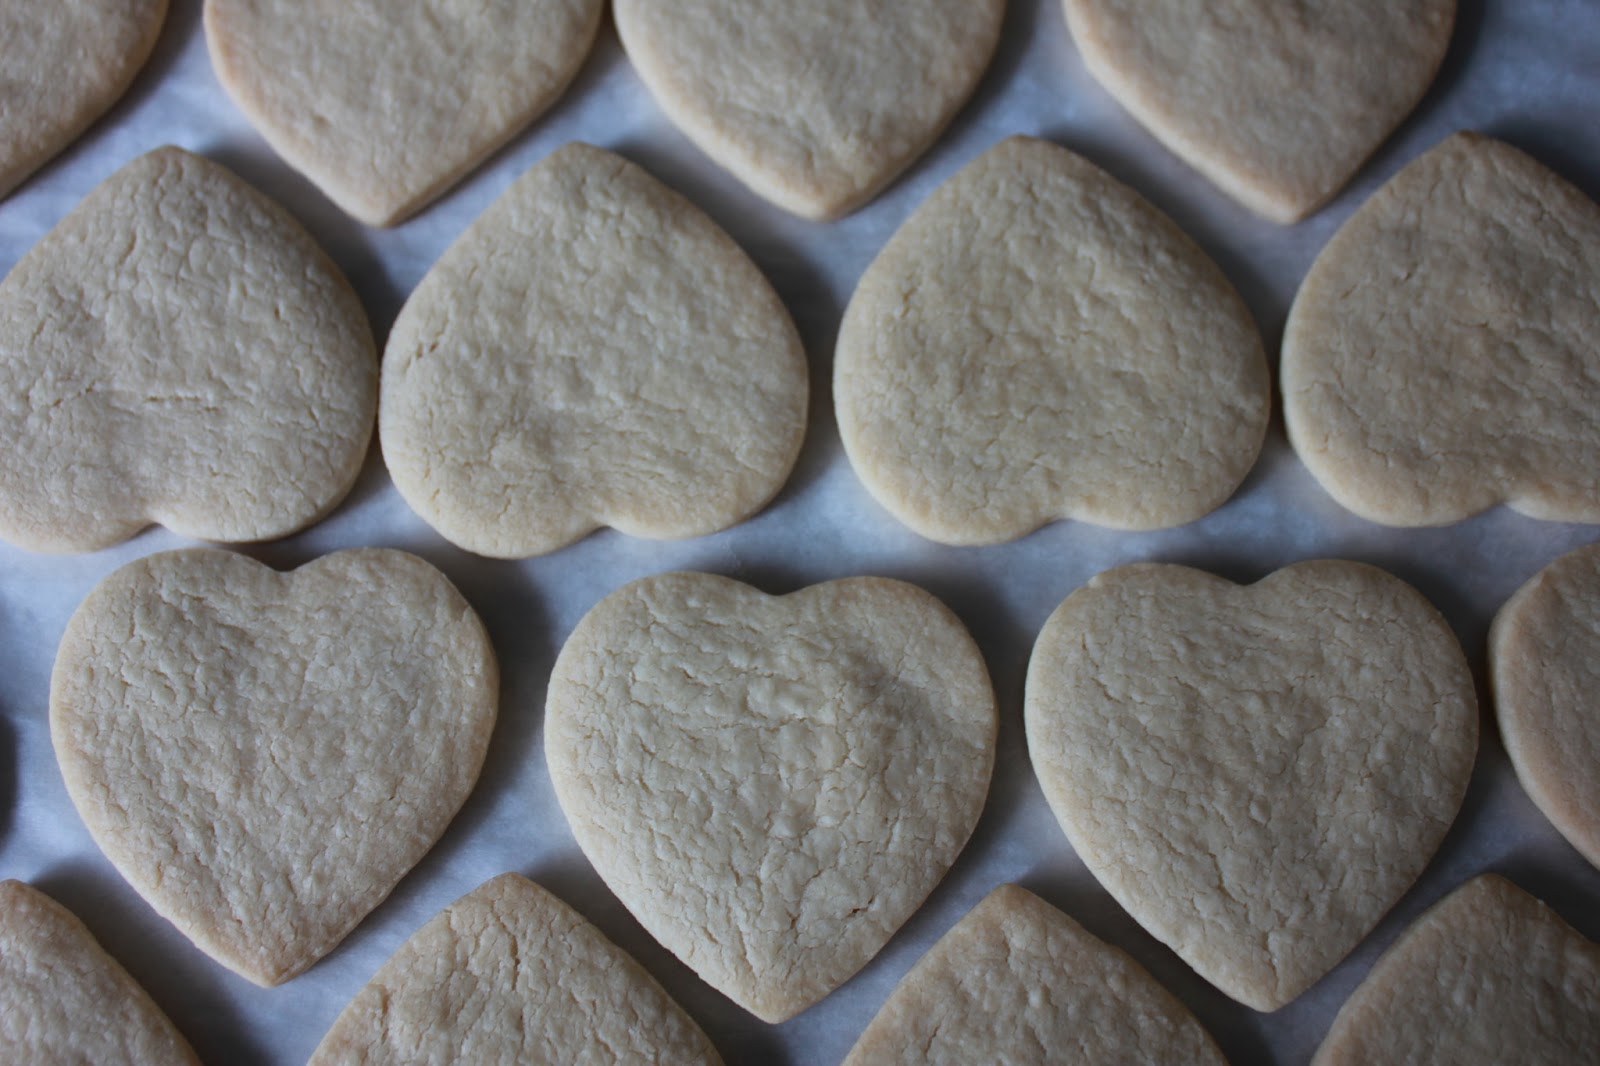
Aaand here's the final product fresh out of the oven!  You would not believe how amazing the house smells as these buttery cookies bake.  It'll literally have you staring down the timer.. twitching with anticipation for the final second to arrive.

The best part of this recipe is that the cookies taste fantastic just by themselves (no dipping necessary), but if you can stand to wait before devouring, go ahead and melt down some chocolate and dip these bad boys to give them an added deliciousness.  A couple Christmas' ago, I dipped Shortbread cookies in dark chocolate and sprinkled chopped peanuts over it, and gifted them to co-workers and my friends.  Three words: yum, Yum, YUM!!


Ok, so now here's what I did with my leftover cookie dough (and Peanut Butter Truffles from my previous entry).  I measured the truffle mixture out with a teaspoon and rolled them into miniature truffles.  Since they're smaller than a regular truffle, the heat from my hands softened them a bit, so I stuck them back in the refrigerator for a few minutes to allow them to harden up.
You see that leftover hunk of dough in the background?  That will soon turn into a delicious wrapper for each of my miniature truffles =).


Not too sure what I mean???  Well, here's what I did.  I took a piece of my cookie dough, flattened it out and proceeded to envelop a miniature truffle with it.

And, in light of the holiday, I free-formed them into hearts as best I could, ^^.

Although they weren't perfectly shaped, they tasted beyond amazing!


Chocolate, peanut butter and shortbread all in one delicious package..who could resist such a temptation??


Shortbread Cookie Recipe

INGREDIENTS

3 1/2 Cups  All-Purpose Flour
3/4 Lb.  Unsalted Butter, room temperature
1 Cup  Sugar
1 tsp  Vanilla Extract
1/4 tsp  Salt

DIRECTIONS

1. Beat together room temperature butter and sugar till combined.  Then beat in vanilla extract.

2. Add in flour and salt and mix till the dough forms a ball.

3. On a lightly floured surface, pat dough out into two round discs and wrap each in plastic wrap.

4. Let the dough chill in the refrigerator for about 30 minutes before rolling out.

5. When you're ready to bake, preheat the oven to 350 degrees.  Roll your dough out and cut them into any shape you desire.

6. Place your cut outs onto a parchment paper lined baking sheet and bake for 22 - 25 minutes or until the edges just start to turn golden brown.

7. Cool on the cookie sheet for 5 minutes, then transfer cookies to a cooling rack.

Thursday, February 14, 2013

Sweet nothings for your sweet everything =) Happy Valentine's Day!!

It all started with a crush.  From the moment we met, I knew we would have a life-long commitment to each other.  Now, just add some chocolate in the mix, and out comes Peanut Butter Truffles! =)
Truffles have got to be one of the most rich, silky and delicious sweet nothing on the face of the planer!  Its smooth (often) chocolate-y center makes you dance with delight and amazement that something so small can make you feel so satisfied.  Now, because of their fancy wrappers, names, packaging and what have you, you may think that truffles are time consuming and difficult to make.  Well, I'm here to tell you otherwise and reveal the truth.  Truffles are as easy to make as a cake from box mix.  No joke!  Don't believe me?  Try it out for yourself and you'll see.  It just takes a few simple ingredients that you're bound to have on hand...chocolate, peanut butter and cream cheese.  And since it's Valentine's Day, why not send some of this decadence to that special someone in your life.
Alright, let's get started.Measure out your ingredients separately.  Then, melt your chocolate according to the directions on the package.  I only had crunchy peanut butter on hand, but I found that it added great texture to the truffle, ^^.  But if all you have is creamy, by all means use it!

Once your chocolate is melted and smooth, stir in your peanut butter.  After it's combined, go ahead and give it a taste (I know you want to!). If you feel it needs more peanut butter, add a little more.  It can't hurt anyone =)

After that becomes a perfect balance of peanut butter and chocolate, mix in the softened cream cheese.  You'll begin to see that as you stir in the cream cheese your mixture will stiffen.  This is perfectly normal.
Your end result should look something like this.  At this point cover it and let it chill and harden in the fridge for about 45 minutes to an hour.  In the mean time, get cleaned up and prep your station to roll out your little treats.  Here the possibilities are endless!  You can chop up whatever nuts that you have, roll them in some cocoa powder, colorful sprinkles or crushed up cookies will work too.  Get creative!

Before I continue on with the truffle making process, I wanted to throw in my take on the Oreo Cookie Truffle.  I'm sure many of you have received these as gifts, or even gifted them yourselves.  All it takes is processing together a package of cream cheese and an entire bag of Oreos.  Easy right?!  Well, it's the steps after that that turns me off.  I wanted to get away with skipping out on the process of melting chocolate to dip each truffle in.  So, here's what I came up with..


Take about 10 Oreos and chop them up into itty bitty pieces, making sure they're large enough so that when you bite into your truffle, you know what you're getting.


Then, you mix that in with your melted chocolate.  Once all of that is incorporated, stir in your softened cream cheese.  As with the peanut butter truffle, this mixture will begin to stiffen as you continue to stir.


 Once your Oreo mixture looks like this, cover it and set it in your fridge for about 45 minutes to an hour to set up and harden.

By the way, look at how cute these Valentine themed candy cups are!  I couldn't wait for the truffles to set so I could roll them in more goodness and place them into their own personal little heart studded vessel. 

I don't have pictures of when I rolled my Peanut Butter Truffles, but what you do is take your small scooper, scoop out your mixture, form it into balls and roll it in your topping of choice.


And here is what you get!  Several dozen perfectly amazing truffles!  I told you it was easy.  After you have all your truffles rolled out and topped, stick them back in your fridge until you're ready to impress your Valentine.  They'll be sure to be hooked after one bite!  And please, please, please save yourself a handful for later on.  They're just way to yummy to gift them all out, ;).  Think of it as a reward for a job well done.


Happy Valentine's Day!! ^^

Friday, February 8, 2013

Support local and create Zucchini and Carrot Walnut Bread!

Whoever invented the idea of the farmer's market or people's market is an absolute genius!  People love to share their product with others, and there's nothing more rewarding than supporting your local businesses.  I love walking through farmer's markets and experiencing the atmosphere that the vendors and community create.  It's always buzzing with local folk looking to help each other out.  When I visit my local farmer's market I'm not only looking for a better deal on produce, I also enjoy discovering new products and listening to people's conversations of what they use each ingredient for.  If you've never been to one, go!  You'll be surprised with some of the conversations you'll engage in, whether it be about food, life or the weather.  And if you take your time to consider each fruit and vegetable, you'll realize that the possibilities are endless!
This time I had no particular item or recipe in mind.  I actually just went to be inspired by the vendors.  Sometimes you just need to let something jump out at you.  I was surprised when I ended up going home with a solitary bag of beautiful zucchini.  I intended to just roast them with garlic as a delicious side dish to an Italian dinner, but I had about 4 - 5 decent sized zucchini, and I wanted to do something different.  So, after contemplating and taking my sweet tooth palate into consideration as well as my adoration for bread, I decided to try my hand at Zucchini and Carrot Walnut Bread.  Jamba Juice has this stocked in their bread case, and I always buy one to indulge in my craving.  But, like I said in my previous entry about Starbucks' Lemon Loaf, it would be better on my wallet (and waistline) to make my own.


I had tons of fun grating the zucchini!  I didn't realize how much water it actually contained.  It quickly made the 3/4 cups I needed, so I had enough leftover to make another batch, ^^.  I don't have a picture of the grated carrots, but the process is the same.
INGREDIENTS
1 1/5 Cups  All-purpose Flour (or Whole Wheat Flour)
1 tsp  Baking Powder
1/4  Baking Soda
1/4  Salt
1 tsp  Cinnamon
2  Egg Whites
1 Cup  Light Brown Sugar (this can easily be cut down to no less than 1/2 Cup)
1/4 Cup  Unsweetened Apple Sauce
2 Tablespoons  Plain Greek Yogurt
1 tsp  Vanilla Extract (optional)
3/4 Cup  Grated Zucchini
3/4 Cup  Grated Carrots
1/4 Cup  Chopped Walnuts

DIRECTIONS
1. In a separate bowl whisk together flour, baking powder and soda, salt and cinnamon.

2. In a large mixing bowl, blend sugar, egg whites, apple sauce, yogurt and vanilla.

3. Stir in zucchini and carrots.

4. Gently mix in dry ingredients till incorporated.  Fold in walnuts.

5. Preheat oven to 350 degrees.  Spray 2 loaf pans or mini loaf pan with nonstick cooking spray.  Drop batter evenly into pans and bake for 50 - 60 minutes or until toothpick comes out clean and loaf is dry on top.

6. Cool in pans for several minutes, then turn them out onto a wire rack to cool completely.

These loaves are so delicious that you'll forget you're eating your veggies!  The walnuts really bring great texture to each bite, and if you want that additional crunch, feel free to sprinkle some walnuts on top of your loaves before baking.  Sooooo yummy!

When fresh fruit and yogurt unite..into a delicious cupcake ^^

This one is from a while back, but so totally worth sharing!  My mom and I decided to change our eating lifestyle, and incorporated tons more fruits and veggies in our daily menu.  If you were to open our fridge, you'd definitely get an eye-full of different yogurt flavors, mixed berries and some other health dish of the week.  I do have to admit that as much as I have grown to LOVE yogurt, it quite frankly gets tiring after a while if you don't flare it up with some granola/cereal, fruits....or throw it in a cake recipe!
One afternoon my mom came home with a super easy Betty Crocker recipe that called for yogurt.  What a simple concept, yet it brings tremendous flavor to your regular cake recipe!  The first time I made this was for my best friend's baby shower.  I got super excited with frosting the cake that I put a little too much and when we cut into it frosting and strawberries started oozing out into a great mess.  Not a bad thing =) but I was looking forward to a professional-esque slice of cake.  Oh, well!  It was still a hit!
My remedy to the delicious mess was to scale it down to a couple dozen cupcakes, which ended up being a fantastic fix.  They looked so much cuter..topped with their own dollop of whipped vanilla frosting and fresh strawberry.  And since we had changed our eating habits, cupcakes were a great way to portion control =)


INGREDIENTS
CAKE
1 Box Moist White Cake Mix
3/4 Cup Water
1/3 Cup Vegetable Oil
3 Egg Whites
1 6oz Container Strawberry Yogurt (or any flavor your heart desires)

FROSTING
3/4 Container Whipped Vanilla Frosting
2 Tablespoons Whipping Cream
1 1/2 - 2 Cups Fresh Fruit, sliced

DIRECTIONS
1. In a large mixing bowl, combine all the ingredients for the cake.

2. Preheat oven to 350 degrees.  Drop cake batter into paper lined cupcake tin or a lightly greased cake pan.

3. Bake as directed on the box.  Then cool completely on wire rack.

4. To prepare the frosting, whip together whipping cream and frosting till smooth and fluffy.

5. Frost your cake or cupcakes and place fresh fruits on top.

Oh man...just thinking about these cupcakes really makes me want one!  I'm sure there's some yogurt lingering around in the fridge, just waiting... =)


Wednesday, February 6, 2013

Banana Bread...with my kind of flare =)

Chocolate.  Need I say more?  If heaven were made of chocolate, I could die happy knowing I'll be bathing, eating and living chocolate for the rest of my afterlife.  But until then I will continue to include it in my daily diet..in moderation of course, ;P.
One week I was on a freak banana bread streak.  I had an abundance of the versatile fruit and much of it was over-ripening.  Maybe it was on purpose, or maybe I just forgot about the huge bunch lying on the counter...we'll never know.  What I do remember is after the 3rd batch of regular banana bread, I wanted to try something new!  I looked in my refrigerator and saw leftover sour cream from quesadilla night.  Perfect!  Sour cream is a wonderful ingredient that brings an incredible moisture to your recipe.  I also perused through my pantry, and the bag of chocolate chips started calling to me that they wanted in on this amazing-ness.  So, end result..Chocolate Chip Banana Bread!  Uh, I die! =)
I must warn you though, once you take a bite of this delicious, chocolate-y goodness you will be diving in for more.  And if you're not a huge fan of chocolate...you will be converted!  I hope you enjoy your journey to becoming a worshipper of chocolate.

INGREDIENTS
1/4 Cup  Unsalted Butter, softened
1/2 Cup  Sugar
1 Egg
2 - 3  Ripe Bananas
1 tsp  Vanilla Extract
1 Cup  All-purpose Flour
1 tsp  Baking Soda
2 Tablespoon  Unsweetened Cocoa Powder
1/2 Cup  Sour Cream
1 Cup  Chocolate Chips

DIRECTIONS
1. In a separate bowl, whisk together flour, cocoa powder and baking soda.

2. In a large mixing bowl, mash up bananas with sugar and butter.  Stir in egg, vanilla and sour cream.  

3. Mix in dry ingredients till incorporated.  Stir in chocolate chips.

4. Preheat oven to 350 degrees.  Spray a 9x5 loaf pan with nonstick cooking spray.  Pour batter into loaf pan and bake for 1 hour or until toothpick comes out clean.

5.  Let cool in loaf pan for 10 minutes, then remove from pan and allow it to cool completely on a rack.

This is best eaten warm...right out of the pan!  But of course we need to share, so slice this delicious, chocolate-y, banana goodness into 8-10 generous pieces and pass it around. =)

Got leftovers? No problem =)

Have you ever found yourself in the mood for certain foods you don't often cook, and you go out and purchase the ingredients, only to find that you have leftover ingredients that don't equal to another recipe?  You too, huh?? =)  No matter how inexpensive each ingredient was, anything you throw out becomes expensive.  With that in mind, I decided to make a "leftover" cookie..and trust me, there will be no leftovers of these =).
Oh, let me first say that I was in the mood for Baked Buttermilk Chicken.  Yum right?!  Who doesn't love a crispy, delicious piece of chicken?  I really wanted to make another batch of it, but I didn't have enough ingredients from the leftovers and there weren't any sales for them =(.  So, the next best thing was to modify one of my existing cookie recipes for my leftover buttermilk and butterscotch chips (from a previous recipe).
INGREDIENTS
2 Cups  All-purpose Flour
1/4 tsp  Salt
1/2 tsp  Baking Soda
3/4 Cup  Unsweetened Cocoa Powder
1 1/2 Cups  Light Brown Sugar
1/2 Cup  Unsalted Butter, softened
1 tsp  Vanilla Extract
2/3 Cup  Lowfat Buttermilk
2 Cups  Butterscotch Chips (you may mix butterscotch and chocolate chips..or whatever leftovers you have ;P)

DIRECTIONS
1. In a separate bowl whisk together cocoa powder, flour, baking soda and salt.

2. In a large mixing bowl mix butter and sugar together till smooth.  Mix in vanilla extract.

3. Alternately mix in dry ingredients and buttermilk (starting and ending with dry ingredients) till everything is incorporated.

4. Stir in your butterscotch chips.

5. Preheat oven to 350 degrees.  Drop dough on a parchment paper lined baking sheet allowing space for each cookie to spread in the oven.  Bake for 12 - 14 minutes or until cookies are set.


6. Cool for a few minutes on the baking sheet, then transfer to a rack to cool completely.

Told you having leftovers wasn't all bad =)

Who needs lemonade when you can make lemon pound cake!

I've been trying to catch up with my blogging lately.  It's super hard when you have all these pictures to filter through, and some I haven't touched in so long I forgot where I put the recipe and what I changed in them =(.  If you ever plan on blogging - about anything - I would definitely suggest to have a designated place for your recipes and pictures...bookmarks, print outs, voice recordings.  Anything that will help you out if you have a busy and dynamic schedule.  Cause sometimes you just need to bake/cook and relax immediately after (with a glass of wine of course ;P)  Take it from someone who knows...I have tons of recipes (pictures actually) from last year that i just can't remember the ingredients for.  OK, I'm done venting!  Back to business..

If you're anything like me, you'll understand when I say that some days I love to get out of the house and relax somewhere else with a cup of tea or coffee and a great book.  At times like these, I often find myself at the local coffee shop sipping on my latte and munching on a pastry.  One time in particular, I remember eating an iced lemon pound cake and thought, "dang...if this becomes a habit, I'll be in debt before I know it."  Then, it hit me...why don't I just make my own!  Duh, right...seems to be a no-brainer.  So I scoured the internet looking at other blogger's renditions of their coffee shop favorites.  It's pretty ridiculous how easy these items we pay $3+ for are to make yourself.  Since my addiction at the time was Starbucks' Lemon Loaf, I found a great recipe online, and added a few modifications.

INGREDIENTS
POUND CAKE
1/2 Cup  Unsalted Butter, softened
1 Cup  Sugar
2  Eggs
1 tsp  Grated Lemon Peel
1 Tablespoon  Fresh Lemon Juice
1 1/2 Cups  All-purpose Flour
1 tsp  Baking Powder
1/2 Cup  Non-fat Milk (you may use any type of milk)

ICING
1/4 Cup  Lemon Curd
1/4 Cup  Powdered Sugar
1-2 Tablespoons  Lemon Juice

DIRECTIONS
1. In a separate bowl, whisk together dry ingredients (flour, baking soda, salt and lemon peel).  In a mixing bowl, beat together butter and sugar till smooth.

2. Add eggs and 1 Tablespoon lemon juice and mix till incorporated.

3. Add dry ingredients and milk alternately (starting and ending with dry ingredients) till incorporated.

4. Preheat oven to 325 degrees.  Spray your loaf pan with nonstick cooking spray and pour batter in.

5. Bake for 1 hour or until golden brown and toothpick comes out clean.  Cool for 5 minutes then cool completely on a rack.

6. Once cooled, spread lemon curd over the top of the loaf.  Mix powdered sugar and remaining lemon juice and ice away =).


Now slice and be happy eating this knowing that you're saving tons of money =).

Tuesday, January 29, 2013

Let's Workout!!! and eat cookies too =)

Last year I was plowing through granola like it was going out of style.  I had just started getting back in the groove of working out and wanting to eat healthy after my 6 stress filled weeks of job training.  But the pounds weren't melting off (like we all imagine them to).  I was actually staying about the same weight, which really frustrated me!  I hadn't baked in over a couple months, so I couldn't imagine why I wasn't losing weight...  Then, I actually looked at what I was eating, and when I saw the fat and sugar content in some of the granola I was eating, I knew I had found the culprit to my dieting woes.  Right then and there I had decided to change up my baking (and eating) habits, and make more healthy recipes.
I researched granola recipes and a ton of them have cups of oil and butter that are included in the recipe (yuck!).  I dug deeper and then it hit me that I could switch out the oil and fat for APPLESAUCE.  After that I went a little crazy over board with the granola making...and I eventually got bored of it, but had all this leftover applesauce and oats.  I started looking for different ways I could use my ingredients, and fell onto a healthy version of a chocolate and oatmeal cookie.  Yey!!!! Cookies back in my diet =)


Applesaucey Chocolate Chip Oatmeal Cookie Recipe

INGREDIENTS
1 Cup  All-purpose Flour
1 teaspoon  Baking Powder
1/2 teaspoon  Baking Soda
1/2 teaspoon  Salt
1 teaspoon  Ground Cinnamon
2 Tablespoons  Unsalted Butter, room temperature
1 Cup  Light Brown Sugar
1 Large Egg
1/4 Cup  Unsweetened Applesauce
1/2 teaspoon  Vanilla Extract
2 Cups  Quick Cooking Oats
1/2 Cup  Dark Chocolate Chunks
1/2 Cup  Craisins
1 Tablespoon  Flax seeds

DIRECTIONS
1. Whisk together oats, flour, baking powder and soda, salt, flax seeds and cinnamon in a medium bowl.

2. In a large bowl, cream butter a sugar till fluffy.  Then, beat in the egg, making sure it's incorporated before adding the applesauce and vanilla extract.

3. Mix in dry ingredients until just combined, and fold in chocolate chunks and craisins.

4. Preheat oven to 350 degrees.  Drop dough on a parchment paper lined baking sheet and bake for 11 - 13 minutes or until edges are slightly brown.

5. Let cookies cool, then transfer to a cooling rack (or your belly).

The great thing with this recipe besides the fact that you can include it in your diet, is that you can change up or add ingredients such as wheat germ, pumpkin seeds, or nuts.  Soooo yummy!

A Mouthful of Mint...Chocolate

It's pretty much a given that Food Network will be switched on at some point during the day in my house.  Typically after my morning cardio and workout sessions =)  And then it'll stay on for the rest of the day whether or not I'm watching it. Many times it becomes ambient noise that carries me through my housework and kitchen time.  One morning Giada was in one of her chocolate moods.  I seriously love this woman!  She's a mother and a wife, she can cook and bake, she loves her chocolate and she looks AMAZING!  Definitely my food idol.
On this particular episode she put together a Double Chocolate and Mint Cookie.  As soon as she said chocolate, I was all ears, eyes and drooling..
Aside from the previously mentioned attributes, I just admire the way she works in her kitchen.  Everything is perfectly arranged and she has tons of counter space (JEALOUS!) to create her masterpieces.
Here's my rendition of her delectable recipe:

First, you chop up 6 ounces of milk or dark chocolate (I would use dark chocolate to give the cookies a richer flavor).  Melt your chocolate with butter and set aside to cool while you prepare the rest of your ingredients.

Now unwrap half a bag of Andes mints and chop them into 1/2 inch pieces.  Go ahead and sneak a few for yourself ;) 

I don't have pictures for the other steps, but just whisk together your dry ingredients and set aside.  Then, do the same for your wet ingredients in a medium sized bowl, and mix in your dry ingredients.  Now, take your cooled melted chocolate and stir it into the batter.  Your dough will stiffen up after this step, but that's perfectly normal.  Oh, don't forget to fold in your mints!

Once you have all of your delicious ingredients mixed together drop your batter by the heaping tablespoon on a parchment paper lined baking sheet, leaving enough room for each cookie to spread out in the oven.
Oooh, I know it's so hard to part ways, but place your cookies in the oven and watch them transform into mint-chocolaty amazing-ness!  After several short minutes, take them out and have them cool for another few minutes.

Okay, now TASTE THEM!  This has got to be one of the best parts of baking =)  Oh, yeah, they turned out  fantastic!!  The chocolate and mint meld together, creating pockets of deliciousness that will drive your sweet tooth crazy!


Hey, don't forget to share now! =)

Mint Chocolaty Cookies Recipe

INGREDIENTS

6 Ounces  Dark Chocolate, chopped into 1/2 inch pieces

2 Tablespoons  Unsalted Butter, softened

1 Cup  All-purpose Flour

2 Tablespoons  Unsweetened Cocoa Powder

1 teaspoon  Baking Soda

1/4 teaspoon  Salt

2/3 Cup  Light Brown Sugar

2 Large Eggs, room temperature

1 teaspoon  Vanilla Extract

1/2 Bag Andes Mint Chocolates

DIRECTIONS

1. Combine dark chocolate pieces and butter in a microwave safe bowl.  You may use either a double-boiler or your microwave oven to melt the chocolate. Just be careful to not burn your chocolate!  Stir together and set aside to cool.

2. Whisk your dry ingredients together in a small bowl.  (Flour, cocoa powder, baking soda and salt)

3. In a medium bowl, whisk together eggs, sugar, 2 Tablespoons of water and vanilla extract.

4. Stir in the dry ingredients and cooled chocolate.  And fold in the mint chocolate pieces.

5. Preheat the oven to 300 degrees.  Drop cookie dough on a parchment paper lined baking sheet, and bake for 9 minutes.  Rotate the sheet and bake for another 9 minutes or until the cookies are set and dry looking.

6. Let cookies cool completely before storing (or eating) them.

Thursday, January 24, 2013

A Peanut Butter Lover's Staple

Any peanut butter lover would admit that they have committed the spoon-to-peanut butter jar crime at some point in their peanut butter craving fiasco.  I'm definitely guilty of this desperate act to gain satisfaction once or twice...a week ;).  But there are times when I'll hold back and take the time to bake up a batch of peanut butter thumbprints.  These, without a doubt, have been made countless times by hundreds of bakers across the globe.  And why not?!  They are so simple to make and will leave smiles on your taste testers faces for days!

There are just a few easy steps to follow before you can dive in.  Step one, unwrap 24-36 Reese's peanut butter cups.  Step two make a peanut butter cookie recipe.  By all means do this step from scratch!  I'm just lazy and want these in my belly faster, so I use a small pouch of Betty Crocker's peanut butter cookie mix.  Now, just place about a tablespoon of batter into each spot in your mini muffin tin and bake according to the instructions in your recipe or pouch mix.

Once your cookies drops are finished, immediately push a peanut butter cup in the middle of each.  The dough will wrap itself up and around the sides of the cup, creating a delicious nest for your chocolate and peanut butter confection.
Allow these to cool before popping them out of the tins and into your mouth =).  Make sure to save some for your fellow peanut butter lovers!